Window Crack Repair: A Comprehensive Guide
Windows are more than just openings in a building; they are essential for natural light, ventilation, and energy performance. However, they are likewise susceptible to damage, especially from cracks. While minor fractures may appear harmless, they can quickly escalate into significant issues if left unaddressed. This detailed guide explores the steps and considerations involved in repairing window fractures, supplying property owners with the understanding to preserve the stability of their windows.
Understanding Window Cracks
Window fractures can occur due to various factors, including:
- Temperature Fluctuations: Extreme changes in temperature level can trigger glass to expand and contract, resulting in tension cracks.
- Impact Damage: Accidents, such as a ball striking the window or hailstorms, can trigger cracks.
- Age and Wear: Over time, the materials in windows can degrade, making them more susceptible to breaking.
- Poor Installation: Improperly set up windows can develop cracks due to unequal pressure or poor sealing.
Identifying the Type of Crack
Before attempting any repair, it's crucial to identify the kind of crack:
- Hairline Cracks: These are fine, often barely noticeable cracks that do not typically encompass the edges of the window.
- Tension Cracks: These are usually bigger and can run from one edge of the window to another.
- Bull's Eye Cracks: These are circular cracks that take place from a direct effect.
- Star Cracks: These are several cracks radiating from a single point of impact.
Tools and Materials Needed
- Epoxy Resin: For small fractures, epoxy resin can be utilized to fill the gaps.
- Clear Silicone Sealant: This can be used to seal the edges and avoid water seepage.
- Screwdriver and Pliers: Useful for removing old glazing and hardware.
- Scraping Tool: For getting rid of old putty or caulk.
- Masking Tape: To secure the surrounding location from adhesive.
- Safety Gear: Gloves, security goggles, and a dust mask are necessary.
Step-by-Step Guide to Repairing Minor Cracks
Tidy the Area:
- Use a moderate detergent and water to clean the window and the surrounding location.
- Dry the surface area completely with a tidy cloth or towel.
Apply Masking Tape:
- Place masking tape on both sides of the crack to prevent the epoxy from spreading.
Prepare the Epoxy Resin:
- Follow the manufacturer's guidelines to blend the epoxy resin.
- Guarantee the resin is smooth and without swellings.
Inject the Epoxy:
- Use a syringe or a comparable tool to inject the epoxy into the crack.
- Work from one end to the other, making sure the fracture is entirely filled.
Smooth the Surface:
- Use a plastic scraper or a putty knife to smooth the epoxy over the fracture.
- Eliminate excess epoxy to achieve a flush surface area.
Permit to Cure:
- Let the epoxy cure according to the maker's instructions, normally 24-48 hours.
- Prevent touching or applying pressure to the area throughout this time.
Remove the Tape:
- Carefully peel off the masking tape to reveal the repaired location.
Apply Clear Silicone Sealant:
- Apply a thin layer of clear silicone sealant around the edges of the window to guarantee a watertight seal.
Expert Repair for Major Cracks
For significant cracks, such as those that jeopardize the structural integrity of the window, it is suggested to seek expert assistance. Here are the steps a professional might follow:
Assess the Damage:
- A professional will examine the level of the damage and identify if the window can be fixed or needs to be replaced.
Remove the Damaged Glass:
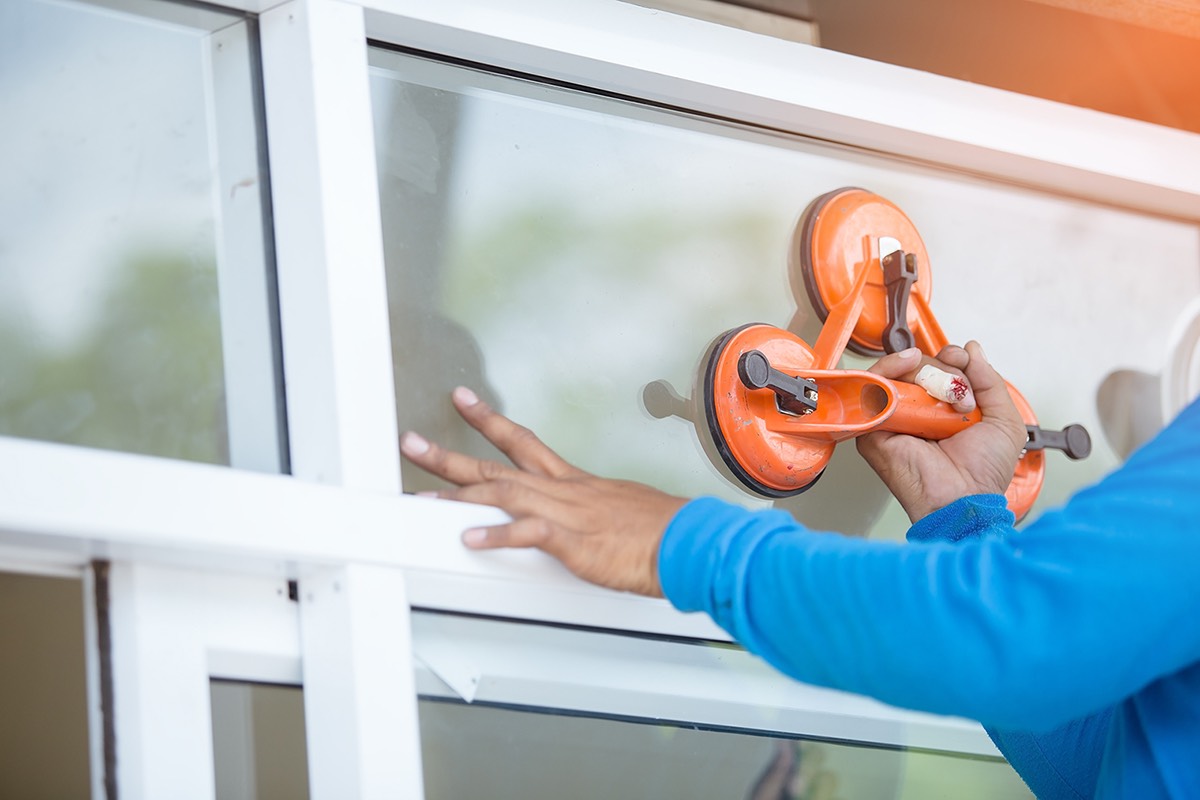
- Using customized tools, the expert will carefully eliminate the damaged glass to prevent additional damage to the frame.
Prepare the Frame:
- The frame will be cleaned and any old putty or caulk will be eliminated.
Install New Glass:
- A brand-new piece of glass will be cut to fit the window frame and set up using glazing substance or new putty.
Seal and Finish:
- The specialist will apply a new seal around the edges and finish the repair to guarantee it is both practical and visually pleasing.
Preventing Future Cracks
Prevention is key to preserving the stability of your windows. Here are some suggestions:
- Regular Maintenance: Check your windows yearly for signs of wear or damage.
- Proper Installation: Ensure that new windows are set up properly to avoid unequal pressure.
- Usage Tempered Glass: Tempered glass is more powerful and more resistant to fractures than regular glass.
- Safeguard from Elements: Use window coverings or awnings to protect windows from direct sunshine and severe weather condition conditions.
FAQs
Q: Can I repair a split window myself?A: Minor hairline cracks can frequently be repaired with epoxy resin and clear silicone sealant. However, window weatherstripping repair or those that jeopardize the window's structure ought to be dealt with by a professional to make sure security and effectiveness.
Q: How long does epoxy require to cure?A: The curing time for epoxy resin can vary depending upon the item. Usually, it takes 24-48 hours to completely cure. Constantly follow the manufacturer's instructions for the finest results.
Q: What if the crack is too big to repair with epoxy?A: If the crack is too big or if it runs from one edge of the window to another, the window ought to be replaced. Trying to repair such a crack with epoxy may not work and might posture safety threats.
Q: How often should I inspect my windows for fractures?A: It is recommended to inspect your windows at least as soon as a year, particularly before the start of extreme weather condition conditions like winter season or summertime. Routine evaluations can help capture problems early and prevent them from ending up being more serious.
Q: Can I avoid fractures from forming in the first place?A: While it's impossible to prevent all cracks, routine upkeep, proper setup, and using stronger products like tempered glass can substantially minimize the probability of fractures forming.
Window fractures can be an annoyance, however with the ideal knowledge and tools, they can be successfully managed. For small fractures, a DIY approach utilizing epoxy resin and clear silicone sealant can be both cost-effective and straightforward. However, for major fractures, it is always best to consult a professional to guarantee a safe and correct repair. By understanding the causes of fractures and taking preventive measures, property owners can preserve the performance and charm of their windows for several years to come.
Additional Resources
- Regional Hardware Stores: These shops frequently bring the needed tools and materials for window fracture repairs.
- Professional Window Repair Services: For significant repairs, consider employing a professional from a trustworthy window repair service.
- Online Tutorials: There are numerous online resources and video tutorials that can provide additional assistance on window repair techniques.